Getting Started
1. Add a Project
On first launch you’ll see an empty main window:
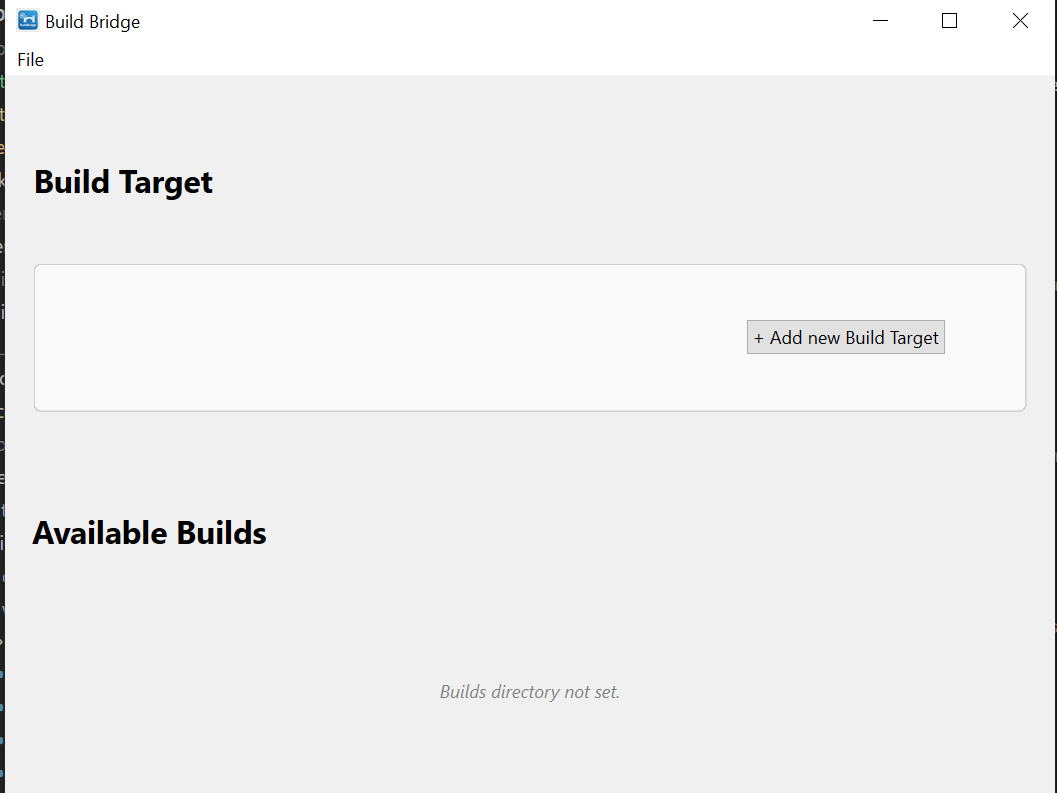
Open File → Settings → Project (or click + New in the project row at the top) to add one:
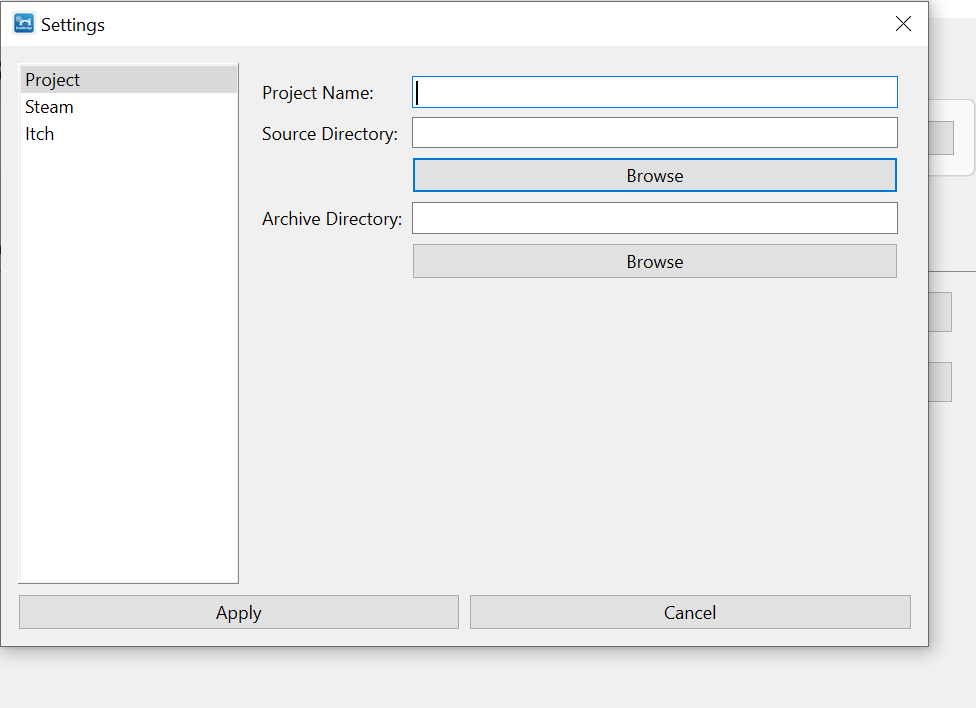
- Name: used for the folder that holds your builds.
- Source Directory: the folder containing your
.uproject. - Archive Directory: the root folder where all builds will land.
Add as many projects as you want and switch between them with the Project dropdown at the top of the main window. The active project drives the build targets and builds shown below.

2. Configure Build Target
Click + Add new Build Target (or Edit to change an existing one). If no project exists yet you’ll see a shortcut to create one here.
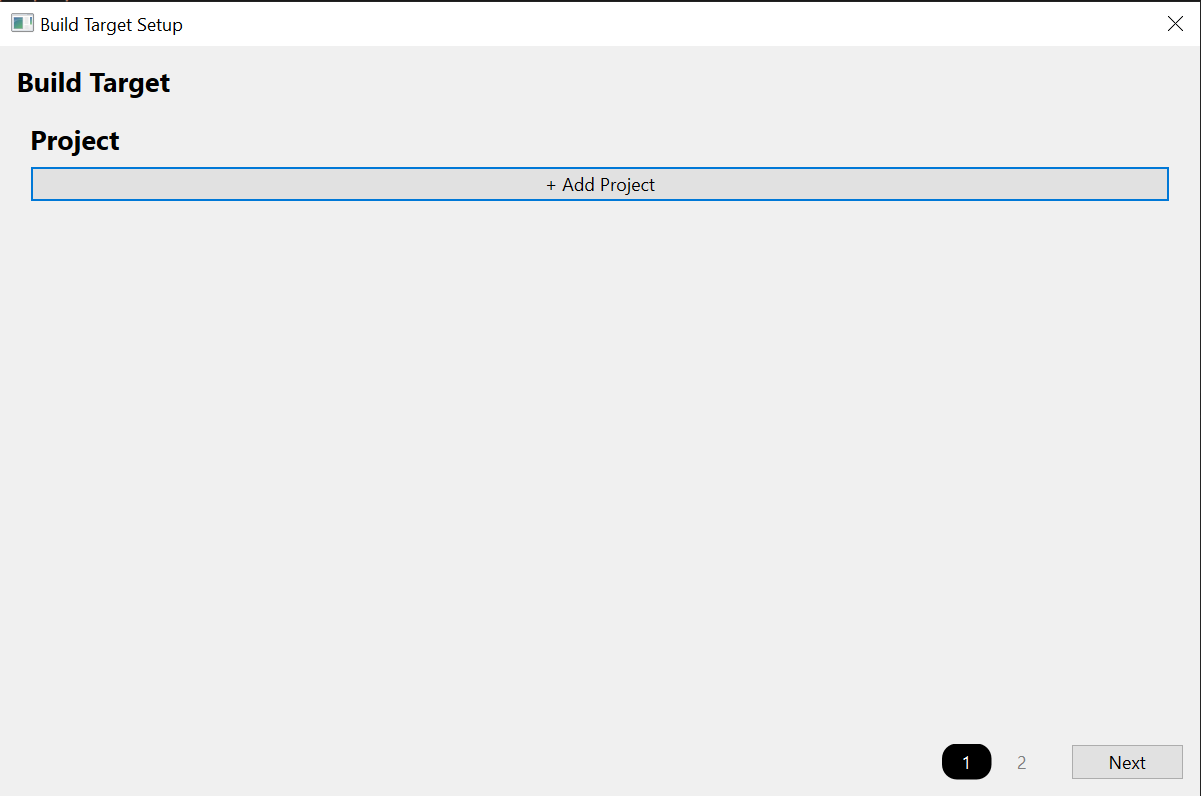
Pick the Project and verify the Source Directory.
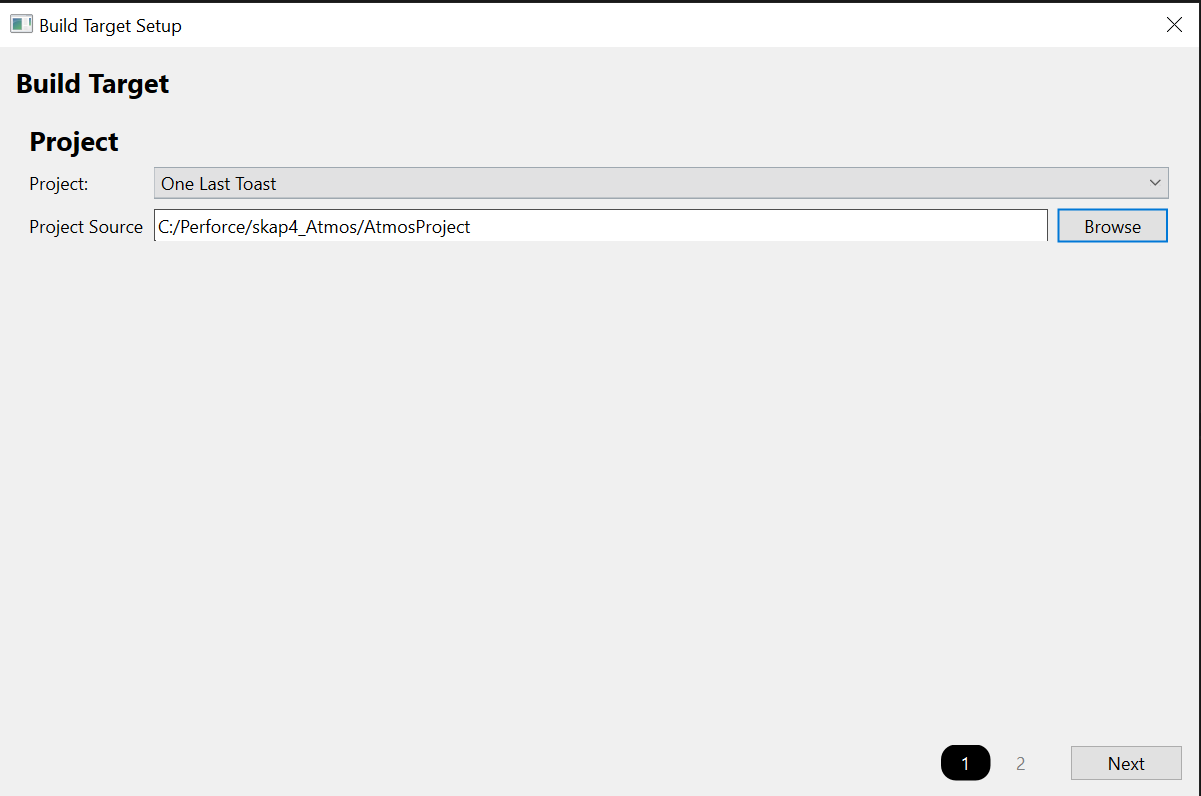
Set the Build Type (Development/Shipping) and Target Platform (Win64, etc.).
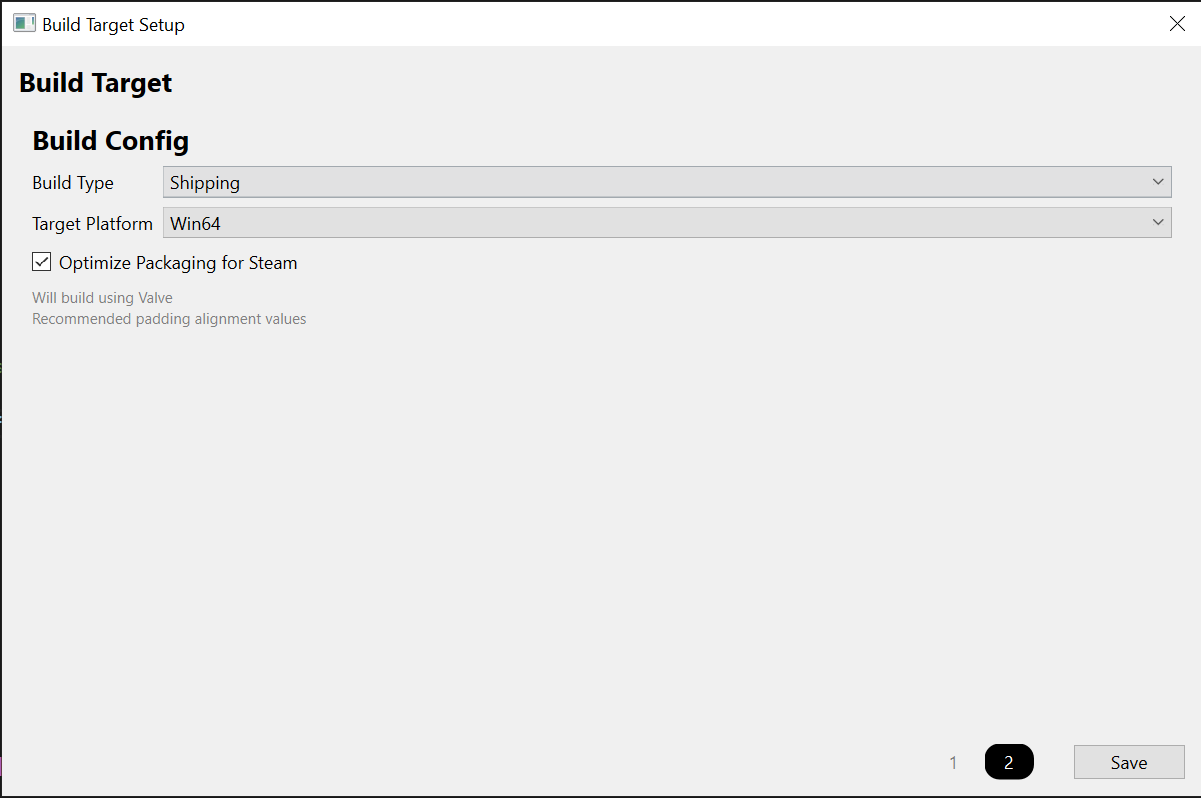
Optionally, use the Maps and Target section to specify a target .cs and which maps to cook (passed as -map).
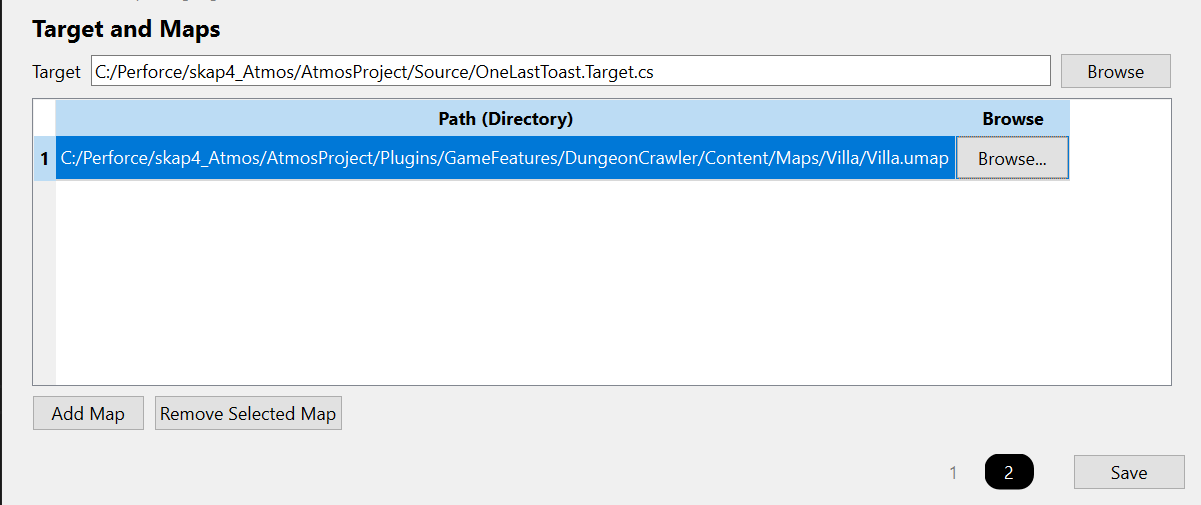
Save the build target.
3. Build
Your build target is now active in the main window:

Enter a Build Version (e.g. “1.0.0”, “0.2-beta”) and click Build. A dialog shows the live RunUAT output:
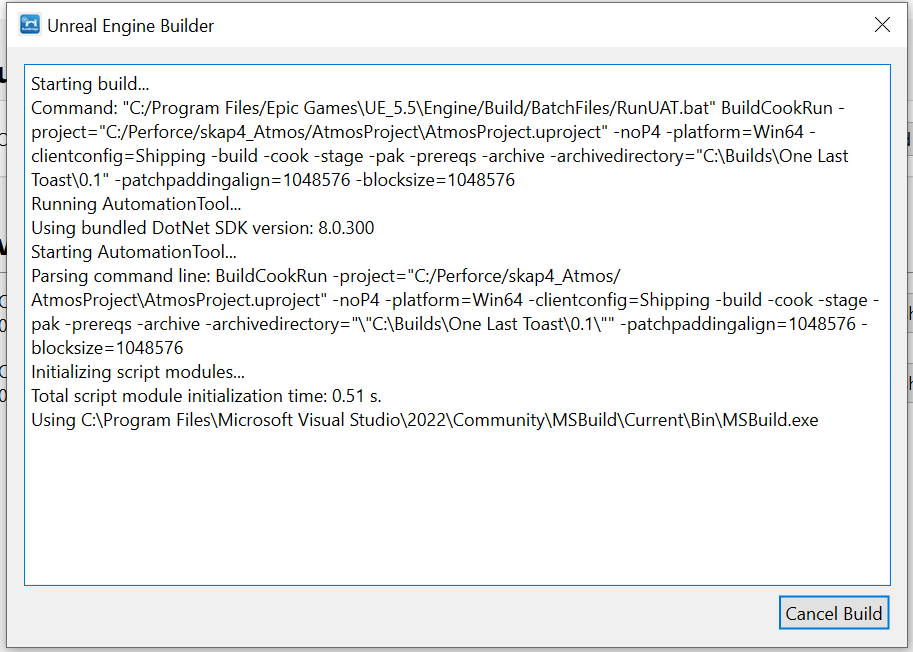
4. Publish
When the build finishes it appears in Available Builds, under {Project.archive_directory}/{Project.name}/{BuildId}.

Each build row has a checkbox per store with an inline status:
- ✓ ready: preflight passed.
- ⚠ warnings: publishable, but something’s worth a glance.
- ✗ issues: a blocking problem; the checkbox stays disabled until it’s fixed.
- ⚠ not configured: no profile exists for that store yet.
Hover the status text for the exact details:

Click Configure next to a store to set its publishing details (Steam App ID and Depots, or Itch.io User/Game ID and Channel). You’ll need the store-level Steam/Itch settings configured first. See Publishing Details.
Tick the stores you want, then click Publish. A non-modal window opens with one pane per store, uploading in parallel with its own log, status, and cancel button.
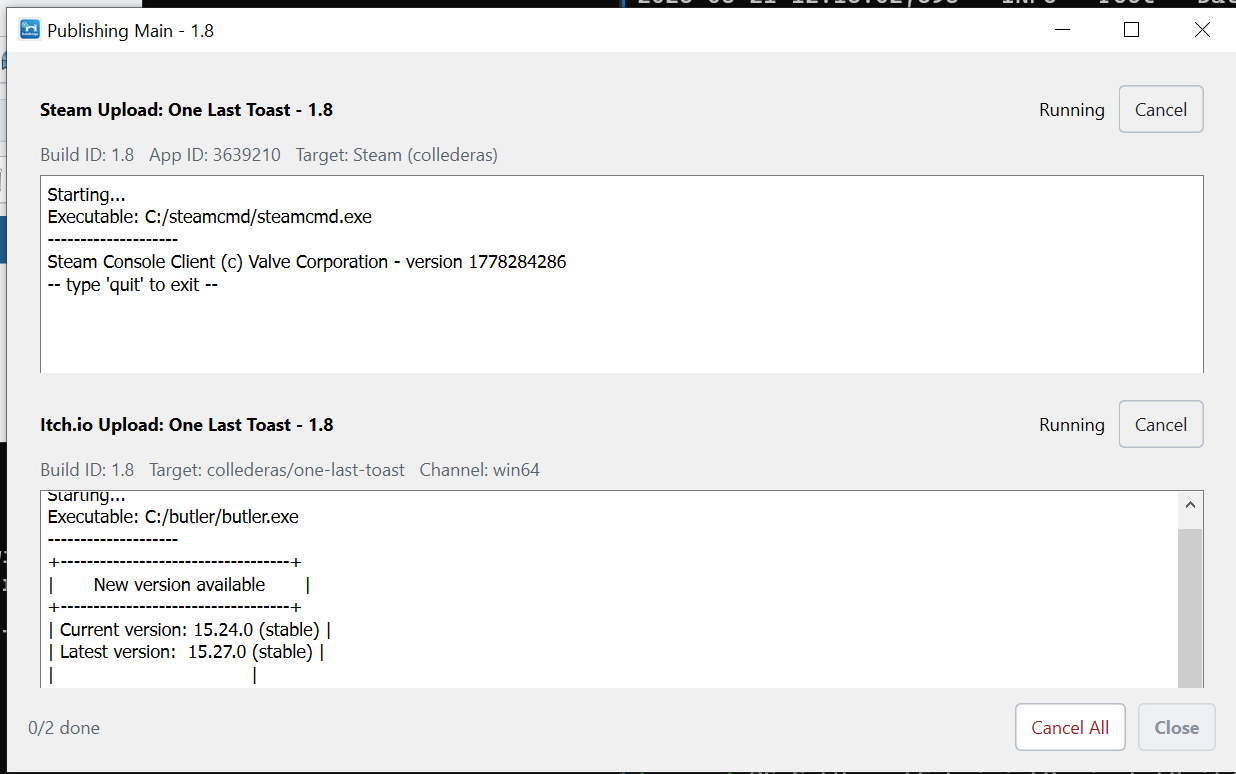
SteamCMD buffers its output, so logs appear with some delay.
If Steam is selected and your account uses SteamGuard, the Steam pane switches to a “Confirm on phone” state while you approve the login. Other stores keep uploading in the meantime.
When a pane finishes successfully it offers shortcuts to open the build folder or the store page.